Managing Lookup Tables
Users with Admin permissions (or System Managers) are able to manage lookup tables within the Conforma system.
Lookup tables contain data which may be referenced by the application form, such as a list of ingredients to populate a drop-down list.
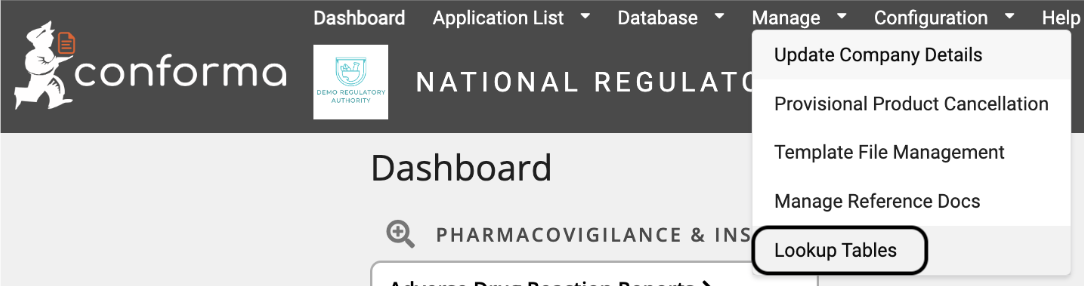
Viewing lookup tables
- Go to the Manage menu in the menu bar, then click Lookup Tables
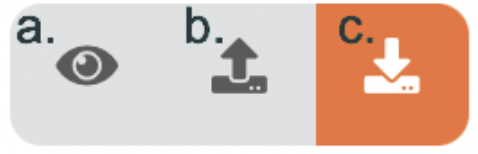
The configuration options for the lookup tables are displayed to the right of each lookup table. These buttons allow you to:
a. View the lookup table and data
b. Update the lookup table
c. Export the lookup table data
To view the contents of a lookup table, click on the eye icon for the lookup table you wish to view.
Exporting a lookup table
- Click the orange export button to download a copy of the lookup table as a .csv file
Editing a lookup table
Existing lookup tables can be updated by either:
a. Editing an existing row
b. Adding a new row into the table
c. Deleting a row from the table
a. Editing an existing row:
-
Export a copy of the lookup table.
-
Within the .csv file, make your changes and save the file. Note: Do not edit the ID column in the csv

- From the lookup table management page, click the upload icon that corresponds to the correct table.
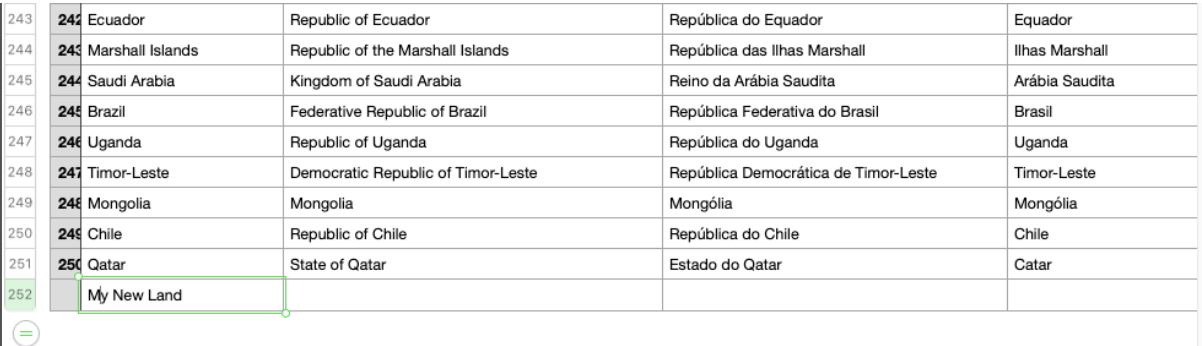
b. Adding a new row into the table
-
Export a copy of the lookup table
-
At the bottom of the .csv, add your new row without populating the ID column, the system will generate the correct ID automatically
-
From the lookup table management page, click the upload icon that corresponds to the correct table
-
After importing, the new values can now be referenced in the lookup table.
c. Deleting a row from the table
-
Export a copy of the lookup table
-
Delete the rows that you wish to remove from the table
-
Save the .csv and reupload it using the upload icon that corresponds to the correct table.